We all know that Ubuntu is know one of the most famous Open Source Operating System powering millions of PC’s and Laptops around the world. Ubuntu is also one of the most widely used operating system in the IT world. Ubuntu offers all the required applications right from web browsing to messaging to games, apps like chrome, Discord and OBS Studio to help content creators as well. This Article will help you understand on how to install ubuntu 24.04 on Proxmox VE
What is Proxmox VE ?
Proxmox VE is an Open Source Virtualization software that helps you to create and manage virtual machines and containers. under the hood, Proxmox uses KVM and LXC for virtualization. Proxmox is also one of the most widely used Hypervisor in the Open Source Community. You can download the latest version of Proxmox from its Official site.
In this Tutorial, we will help you understand on how to Install an Ubuntu 24.04 Operating system in an Proxmox VE Hypervisor.
Pre-Requisites for this Article
- Proxmox Hypervisor to create an Virtual Machine.
- Ubuntu ISO loaded into the Proxmox Server.
Video Tutorial on How to Install Ubuntu 24.04 on Proxmox VE
Here is our Video Guide on How to Install Ubuntu 24.04 On Proxmox.
Step 1: Create a Virtual Machine in Proxmox
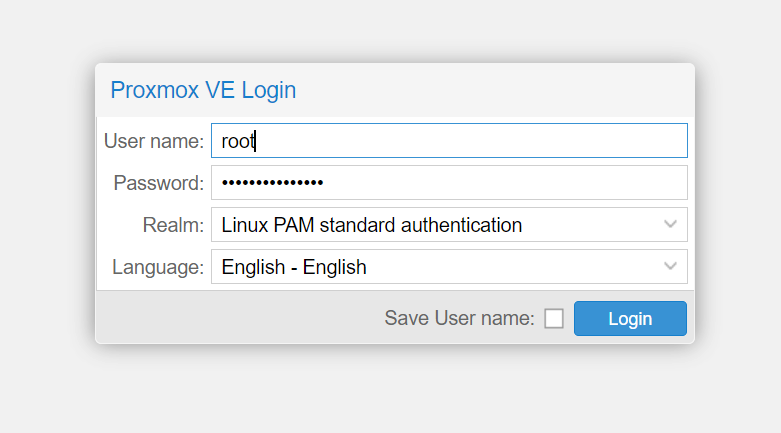
The first step in Installing Ubuntu 24.04 on Proxmox is to create a virtual server in Proxmox. This is done by the following multi step process. First of all Login to Proxmox Hypervisor. This is generally hosted in the following URL https://Your_Server_IP:8006
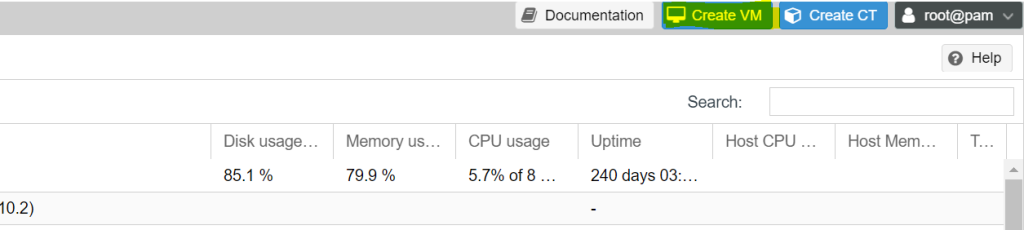
Once you Login Click on Create VM. Usually situated in the Top Right Corner.
Once you Click On Create VM. the following pop up appears. Fill in all the required information and click on next.
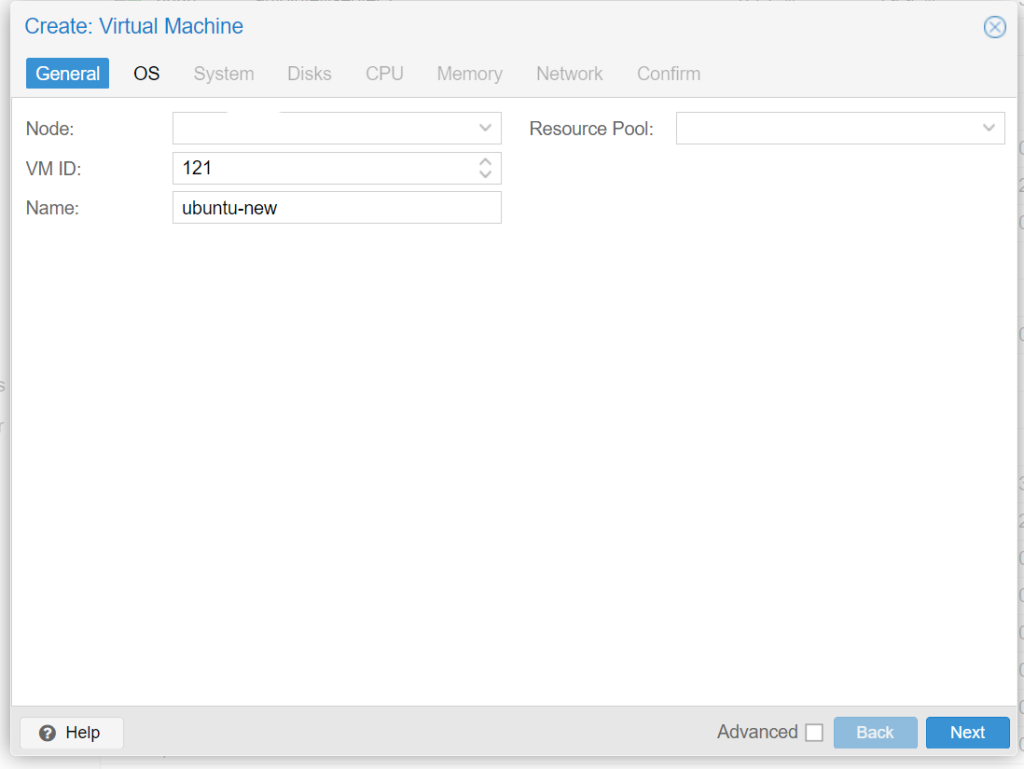
Enter your VM Name and click on next.
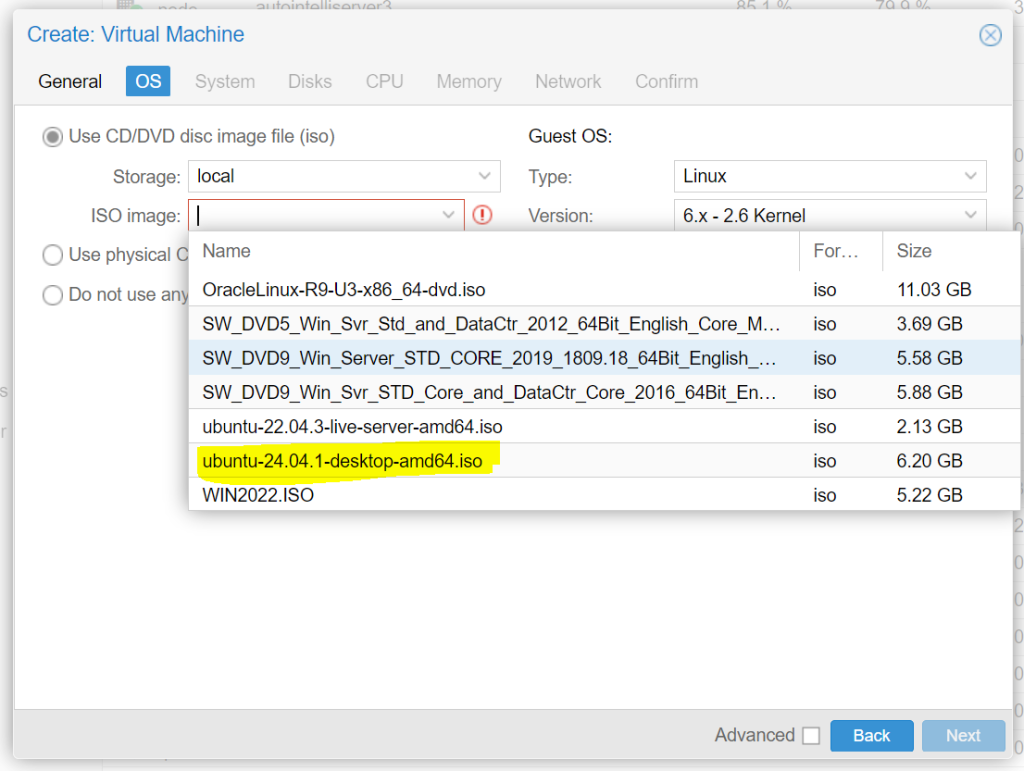
Select your newly downloaded Ubuntu 24 ISO from the ISO Image list and click on Next.
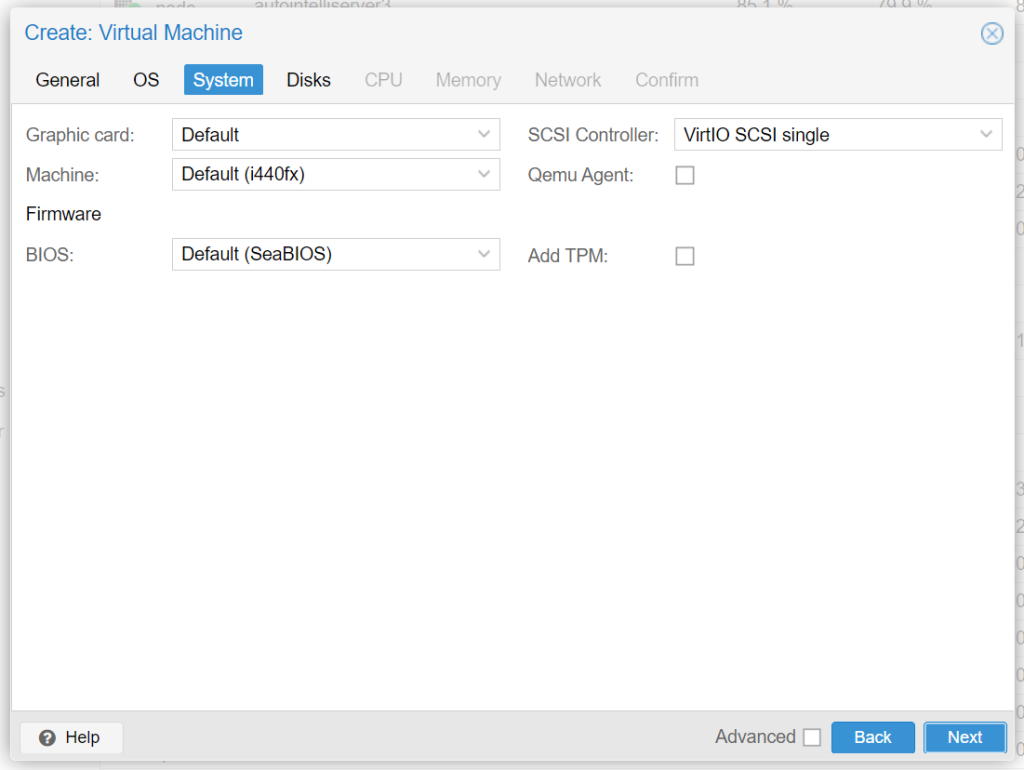
Click Next from the System Tab.
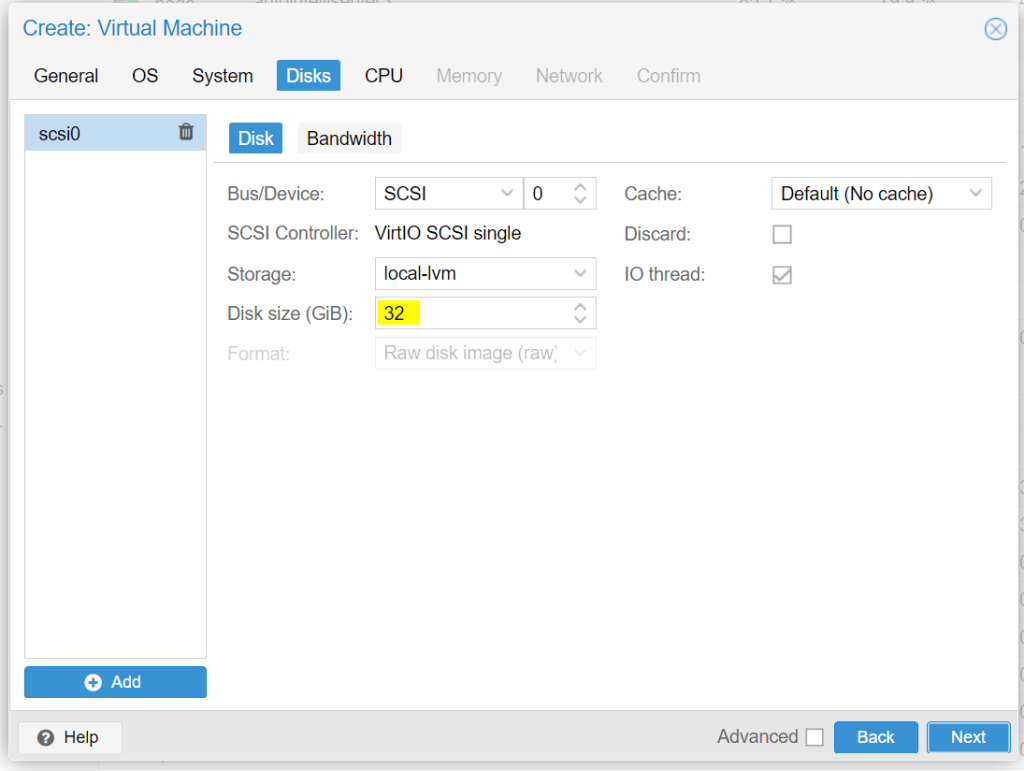
Select the required hard disk size required for your server. In this Tutorial we have added 32GB of Hard disk size. Click Next for the next screen.
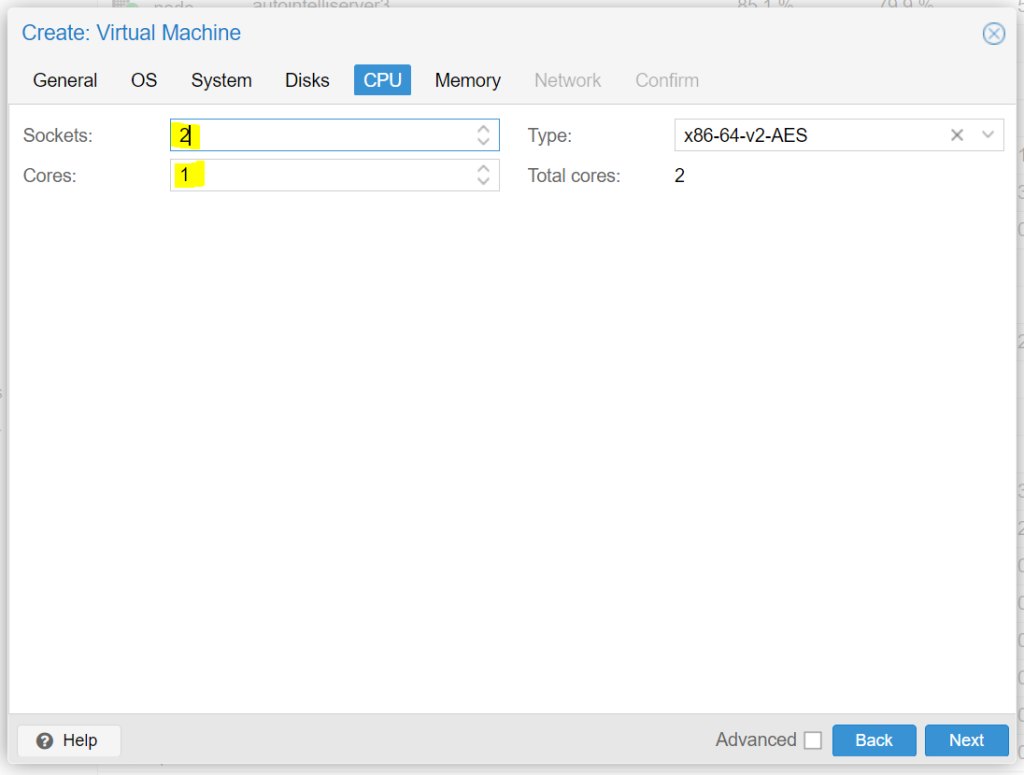
Add the required CPU Power for your server. we have selected 2 Cores for the example. You can select based on the application usage for your new Ubuntu 24.04 Operating System. Click Next.
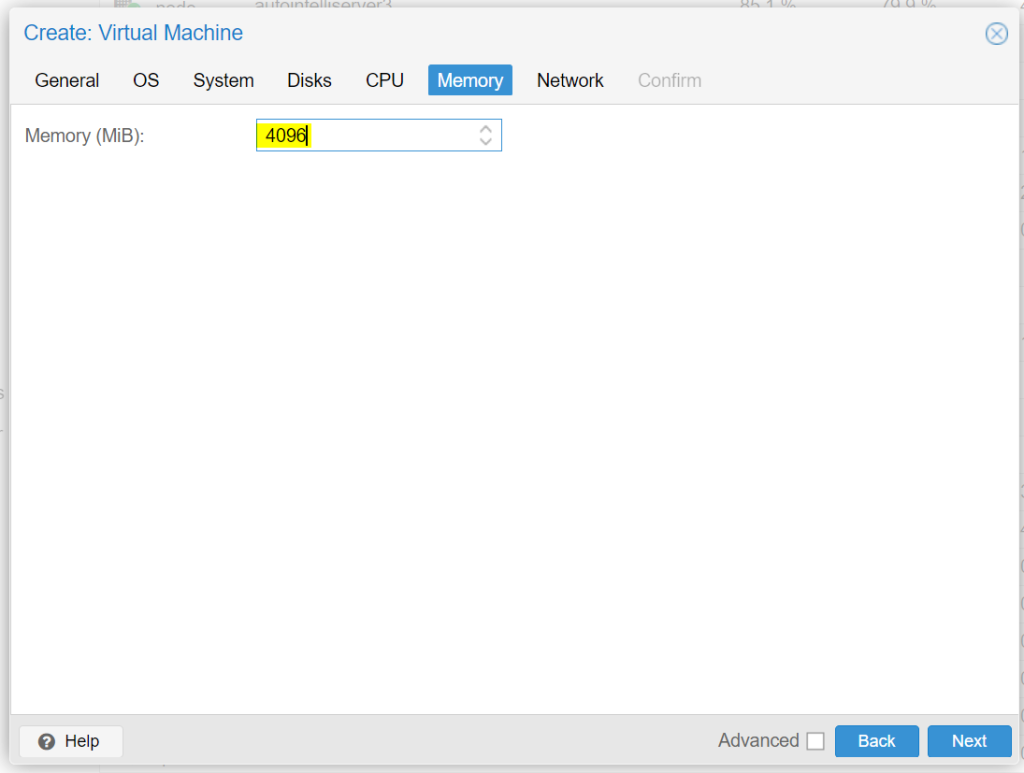
Added the required RAM capacity for your server. we have added 4 GB of RAM for this tutorial. Click Next.
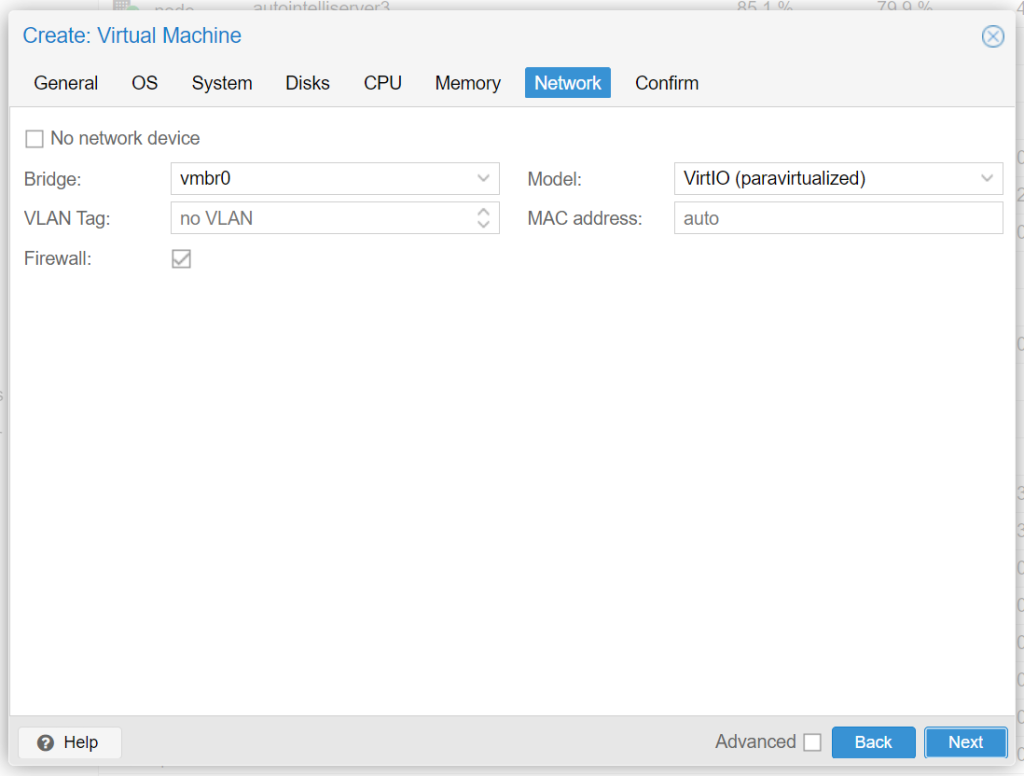
Confirm your Networking Details and Click Next.

Verify the Summary and Click Finish. You can also select “Start after created” to make sure the VM is started after it is created for our Installation.
Step 2: Install Ubuntu 24.04 on Proxmox VE
Now further, We will Install the Ubuntu Operating System on the Newly created Virtual Server in Proxmox.
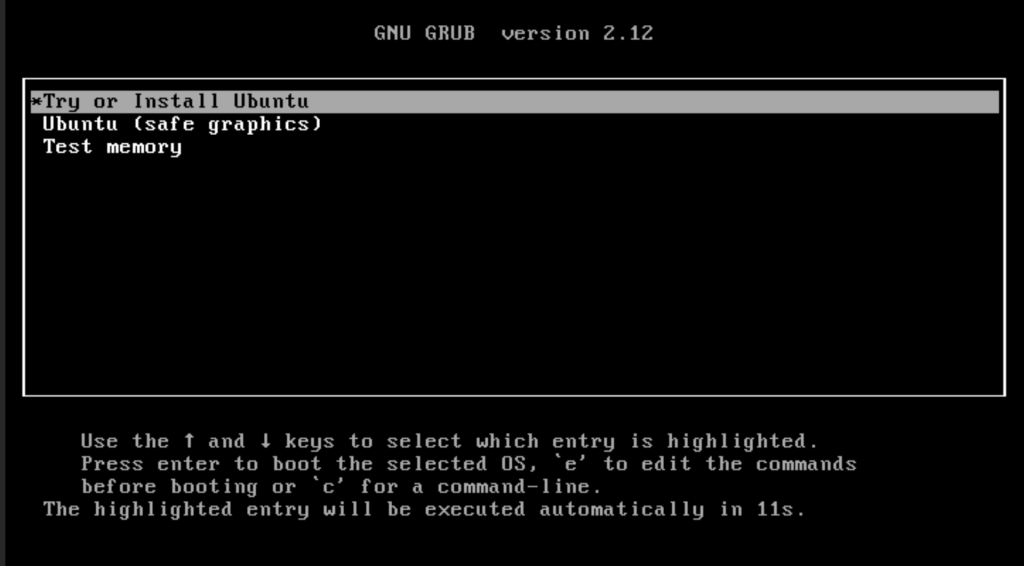
Once the Server is started, it will ask for Try or Install Ubuntu. Just Press “ENTER”. It will take you to the next prompt.
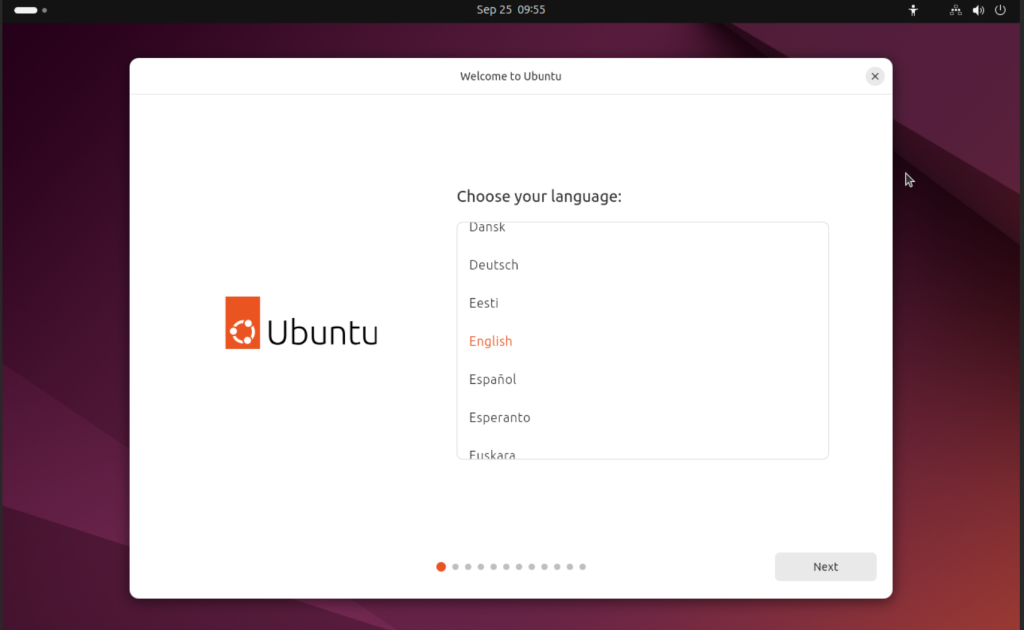
Click on your preferred Language and click Next.
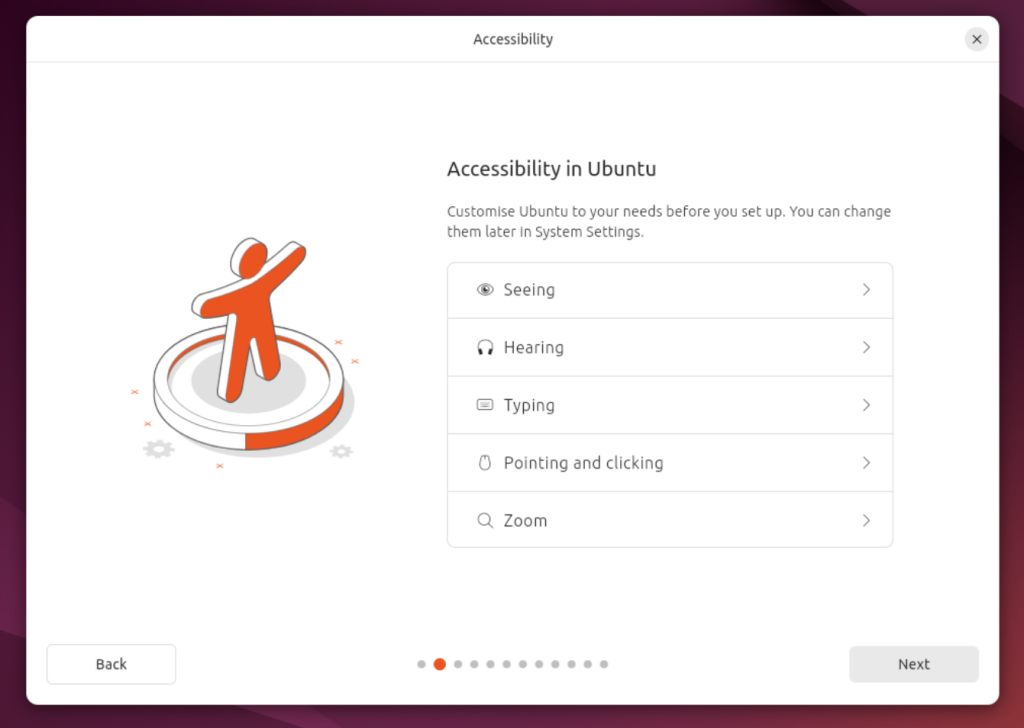
Select Next from the Accessibility Screen.
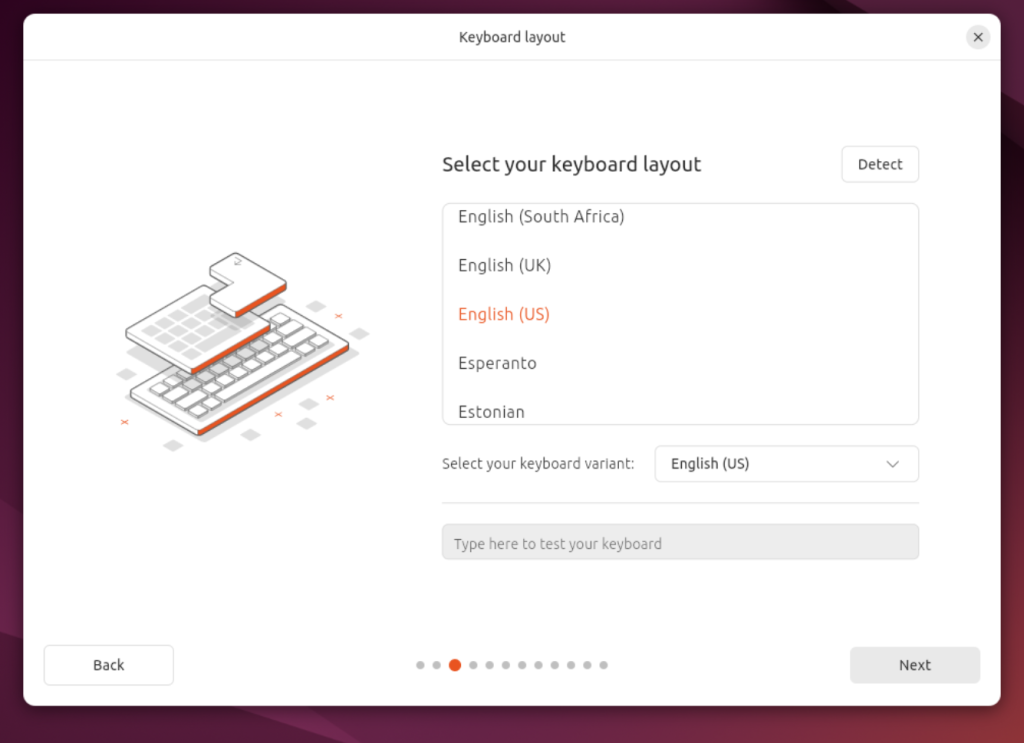
Select your Preferred Keyboard Layout and click Next.
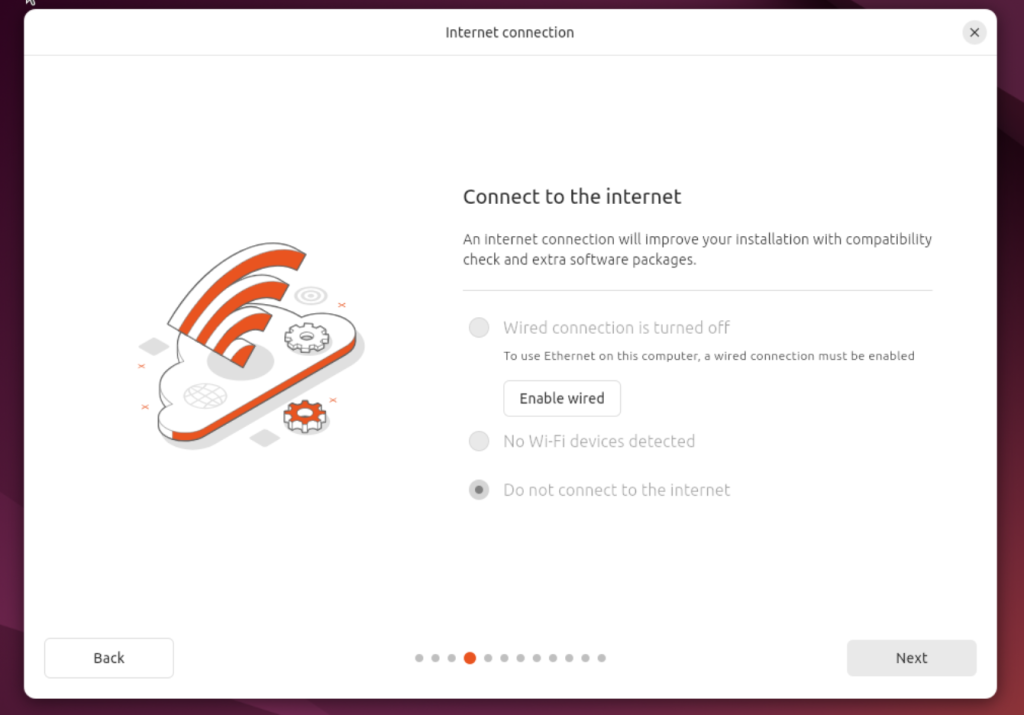
If you have Networking Enabled. You can select the preferred networking option. You can also click on “Enable Wired” to enable Wired Networking.
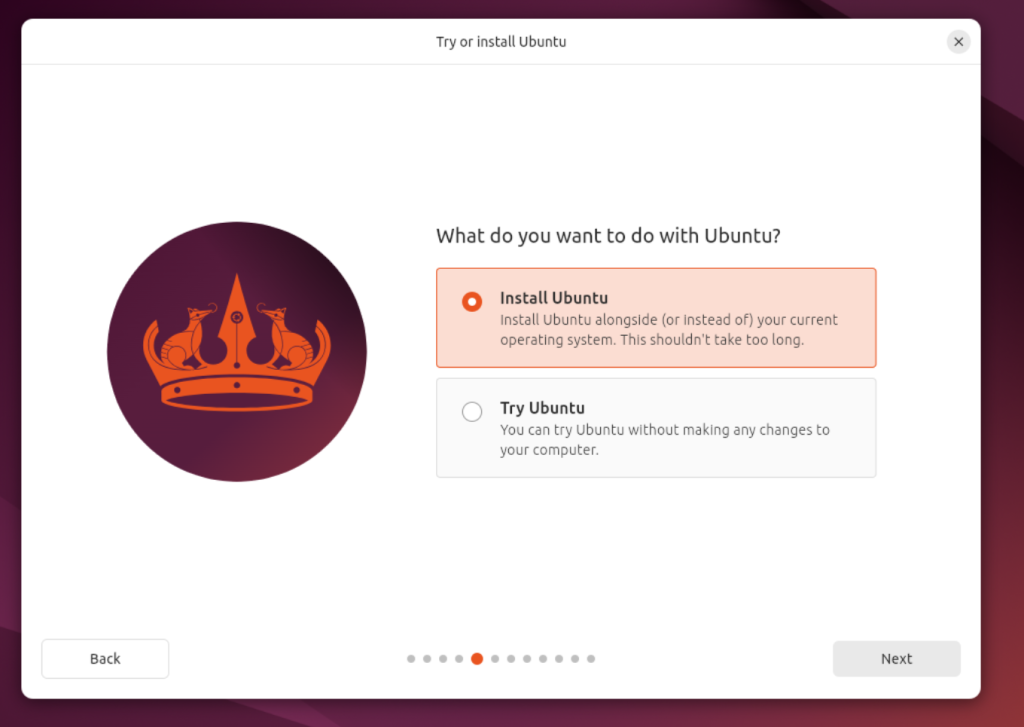
Click on Install Ubuntu and Click Next.

Click “Interactive Installation” from the Option and Click On Next.
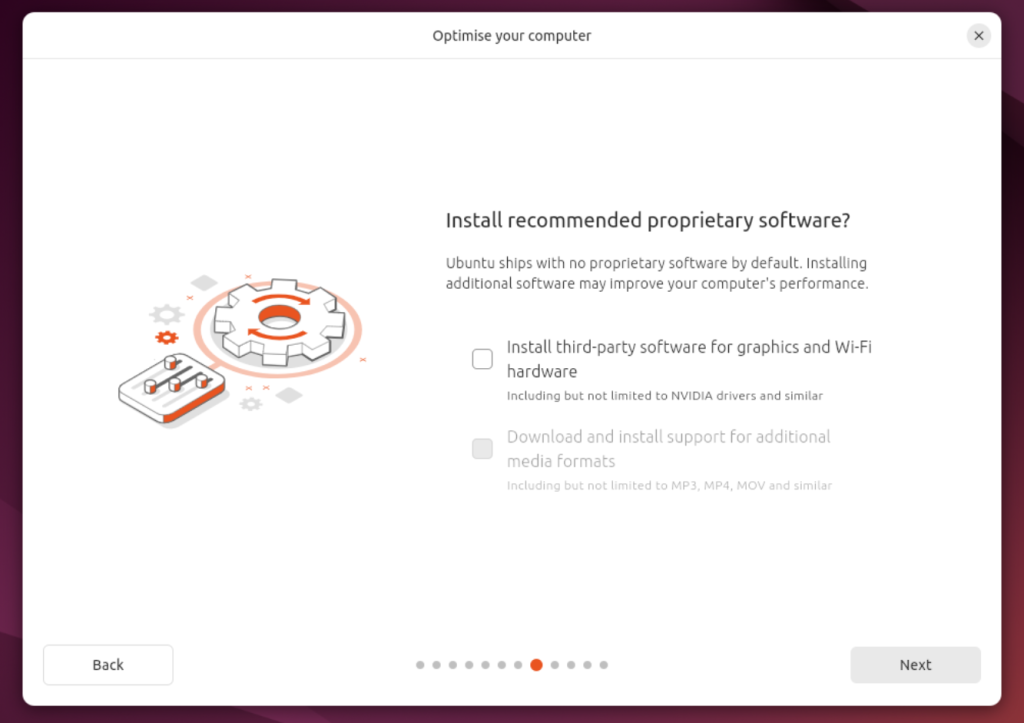
Select “Install third-party software” if you wish to install Graphics and other optional hardware and Click Next.
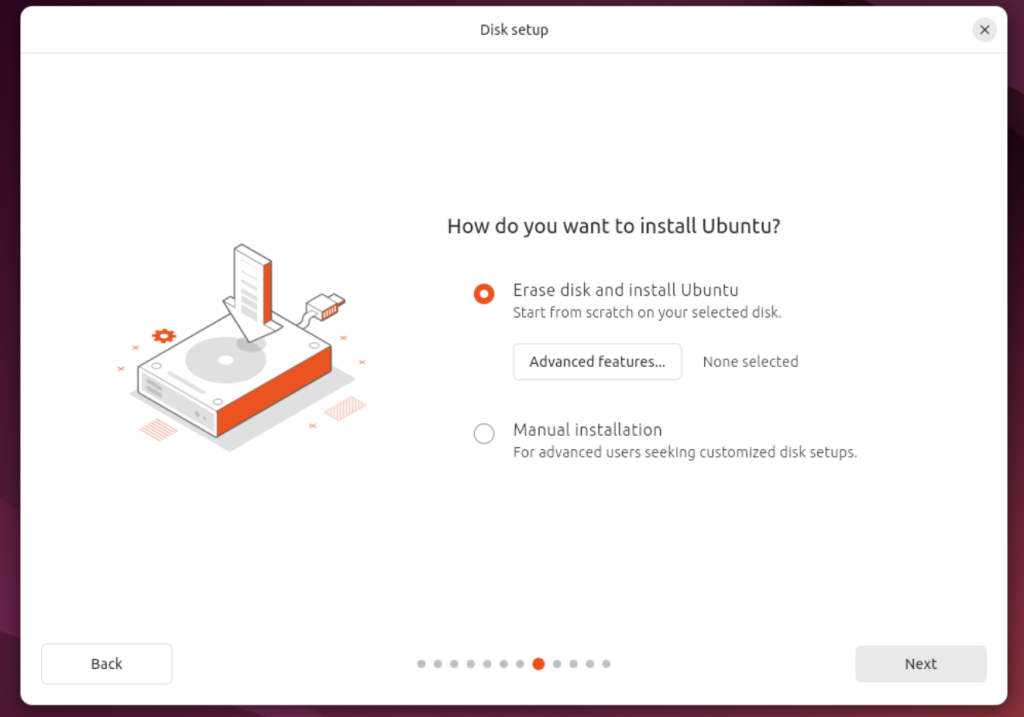
Select your preferred Disk Setup. If you wish to setup automatic setup. Leave it like that and click on Next. You can also have a manual Partition Configuration by Clicking on Manual Installation and Clicking Next.
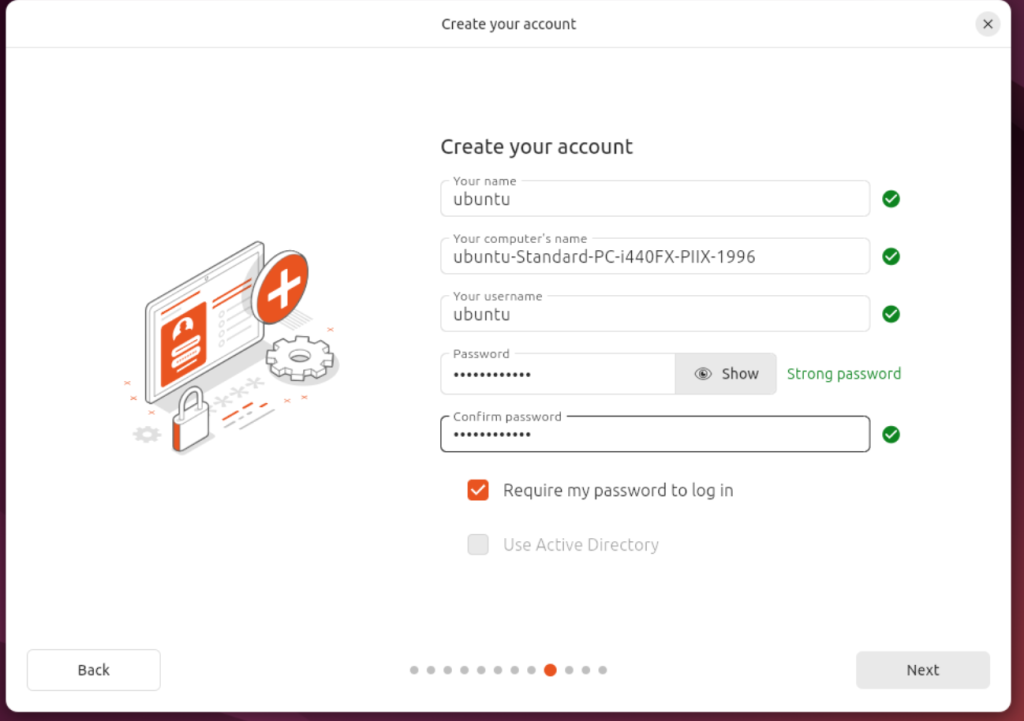
Create a default user account that will allow you to login to your server post setup.
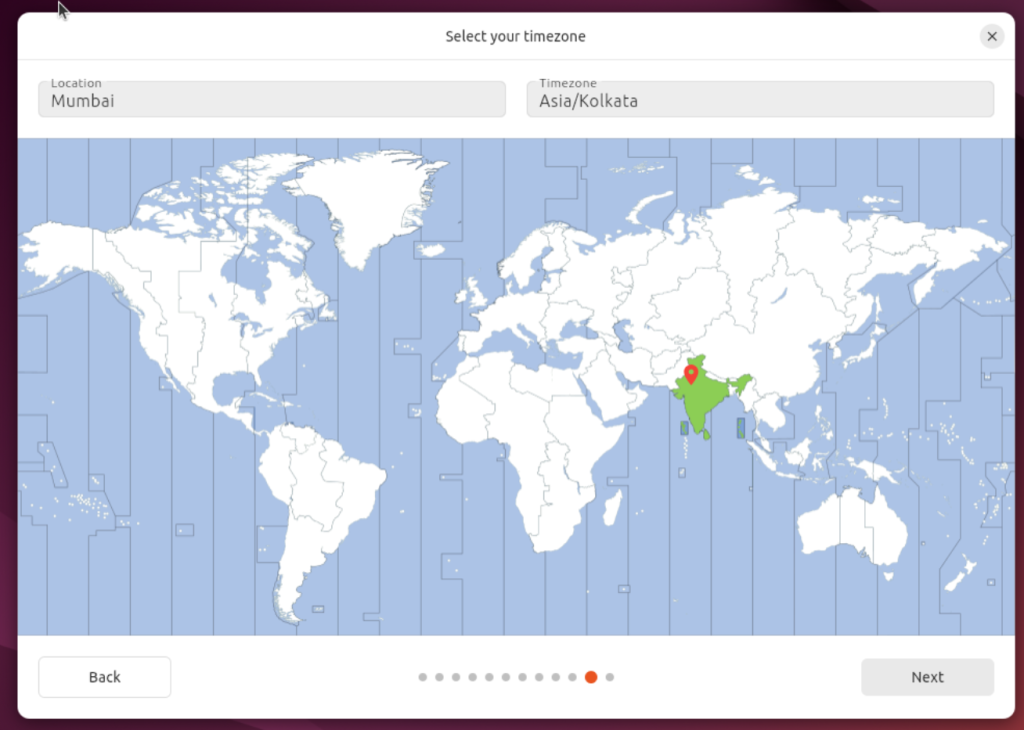
Select your preferred time zone and click next.
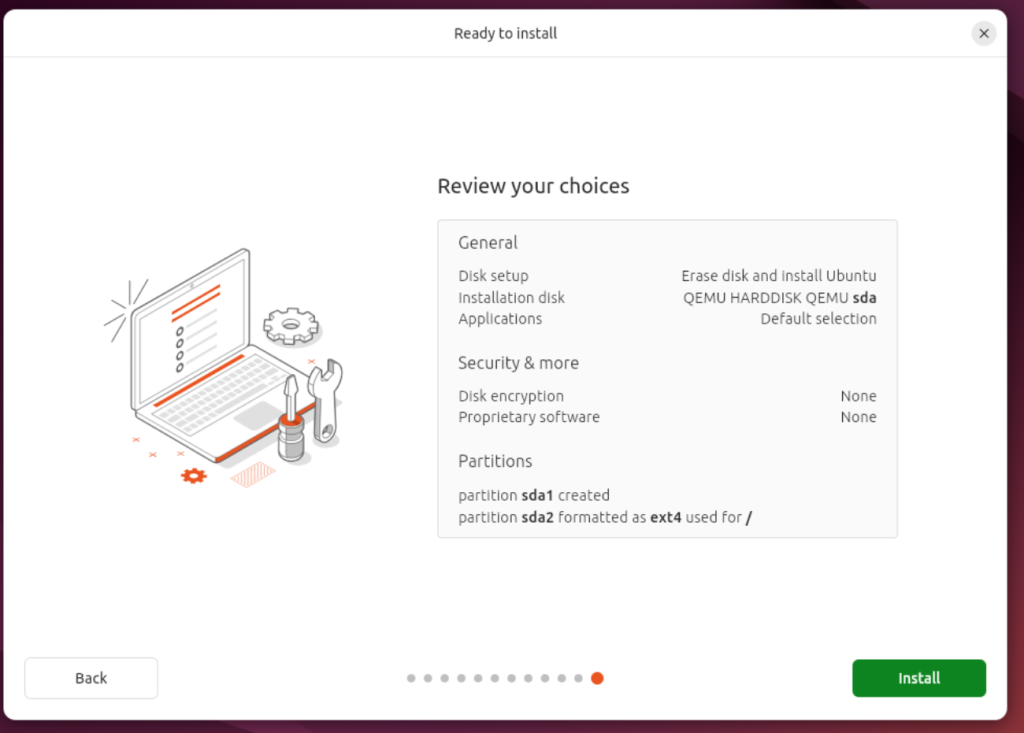
On the Final Summary Page. Verify your details and Click Install. This will take a while
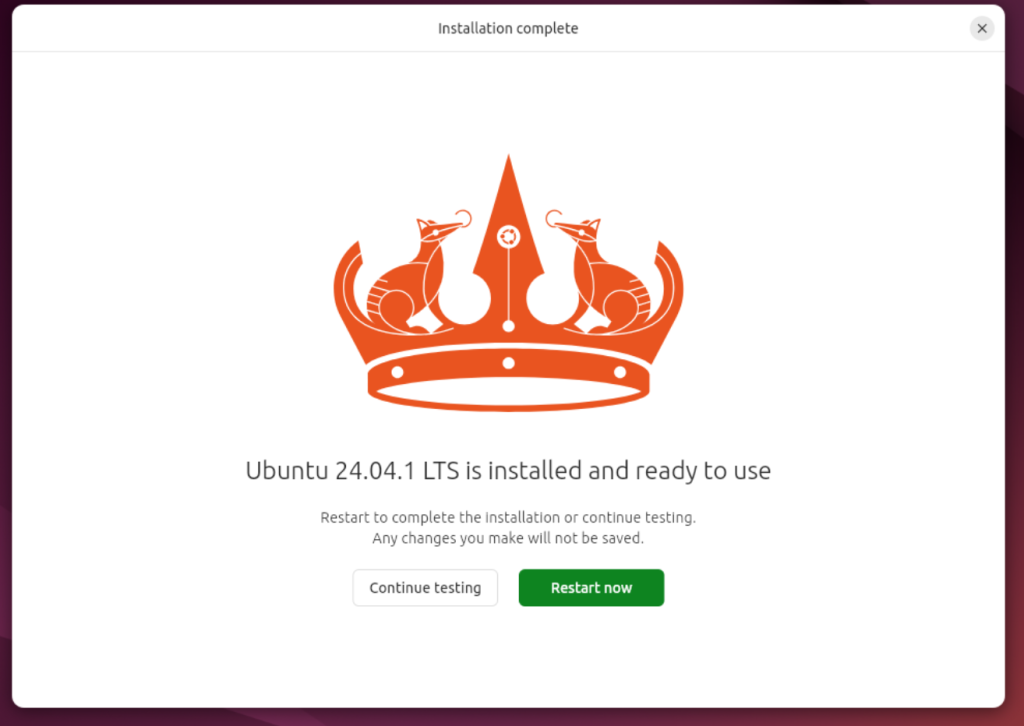
Once the Installation is Completed. Remove the Installation media from the VM Options and Click on Restart Now.
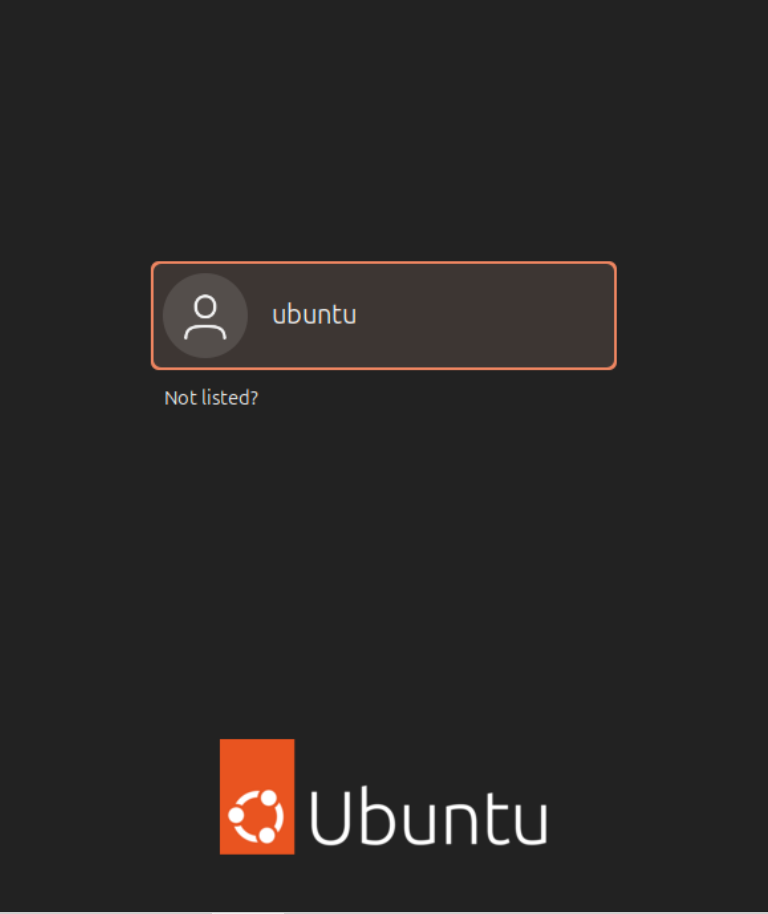
Once the Server Reboots. you will be presented with the Login Screen. Login to your server with the credentials we have created before Installation.

Once Login, You will be Presented with the latest Ubuntu 24.04. Your Server is ready for its application installation and usage. Do not forget to update the server with the latest package updates before using the server.
Summary
Hope this tutorial provides an Step by Step Guide on How to Install Ubuntu 24.04 on Proxmox VE Hypervisor. If you want to know what applications that runs well on the latest Ubuntu. Here is our Guide on How to Install WordPress on Ubuntu 24.04 with Nginx and MariaDB. Do check out the Post and let me know your comments and Improvement areas for us.

One thought on “How to Install Ubuntu24.04 on Proxmox VE – Step by Step Guide – 2024 Edition.”