By this time you all know what WordPress is all about and that is why you are here to look at how to install WordPress on Ubuntu. WordPress is one of the most widely used content management system in the world. Nowadays most of the websites and e-commerce and online stores are powered by WordPress. WordPress offers a plugin and template driven framework that helps any body with even limited knowledge on Coding can build and create stunning websites on the fly.
Here is what we think some of the cool features of WordPress:-
- Friendly Interface: WordPress provides a user friendly interface with a simple plugin driven architecture to easily configure your website.
- Very Flexible: With WordPress you can create any sites from blogs to websites or even a full fledged online store.
- Easily Customizable: With thousands of templates and plugins to support your content creation. this is one of the most customizable framework in the world.
- Open-Source: WordPress is completely open source based on AGPL, which means you do not need to pay for building your website from scratch.
- Large Open Source Community: In case if you get struck in building your cool solutions, there is obviously a large community out there who supports you where you went wrong.
In a nutshell, WordPress is one of the most widely used frameworks for building websites, blogs and e-commerce application. In this tutorial, let us see how can you easily setup WordPress on your linux server without needing anyone’s help.
Requirements to Install WordPress on Ubuntu 24.04
- A Server or a virtual machine running Ubuntu 24.04
- root user or any user with Sudo Privileges
Before you begin, if you are using either Ubuntu 22.04 or 20.04 and wanted to check what Ubuntu 24.04 Offers, You can check out here
If you are also looking for How to Install Ubuntu 24.04 Using ISO. Feel free to check out this Blog Post.
You can also watch the complete video tutorial on How to Install WordPress on Ubuntu 24.04 in our YouTube. Feel free to Subscribe and hit a like.
Step 1. Confirm our Operating System and Version
we also assume that you have a fresh setup of Ubuntu Desktop or Server Operating System installed in a Virtual Environment or VPS. To confirm the Operating System and version. you can use the below command.
cat /etc/*release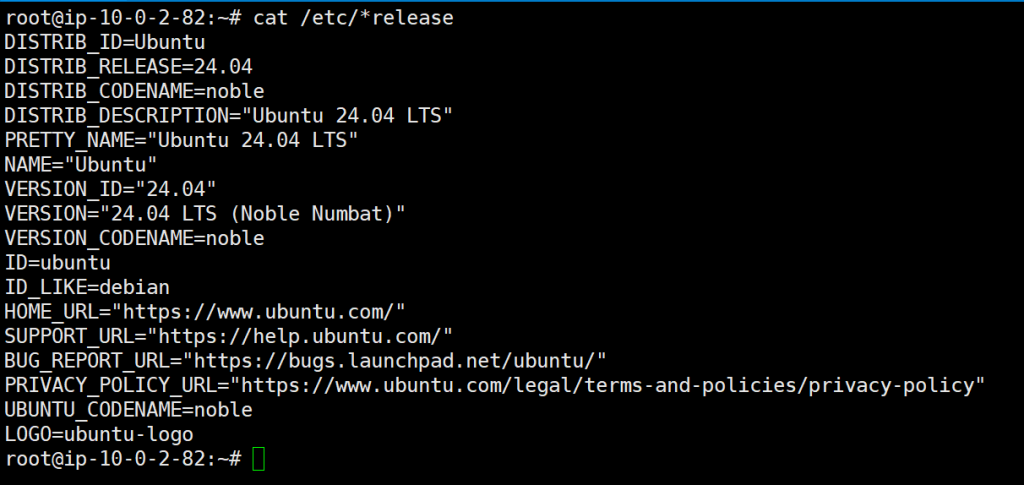
Step 2. System Update
once we confirm the operating system version, we will update all the packages to its latest version. To do that, Issue the following command.
sudo apt install && sudo apt upgrade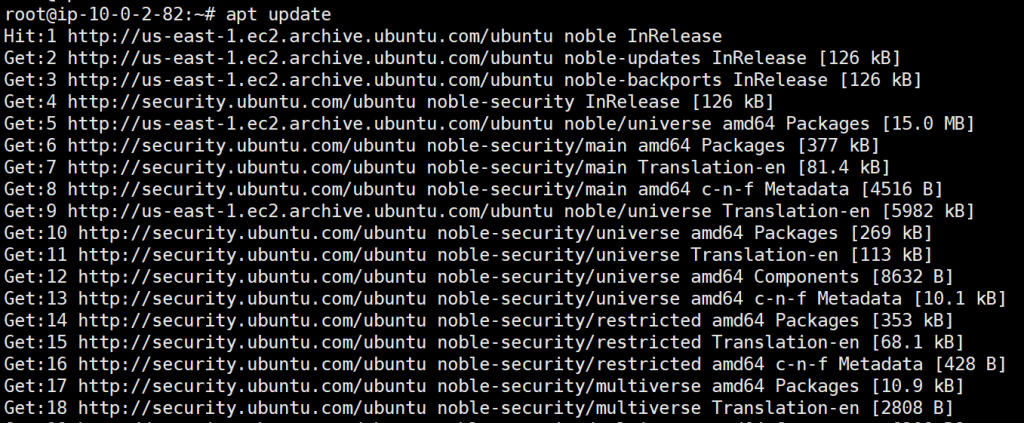
Step 3. Install Nginx Webserver
Let us install the nginx webserver using the following commands.
apt install nginx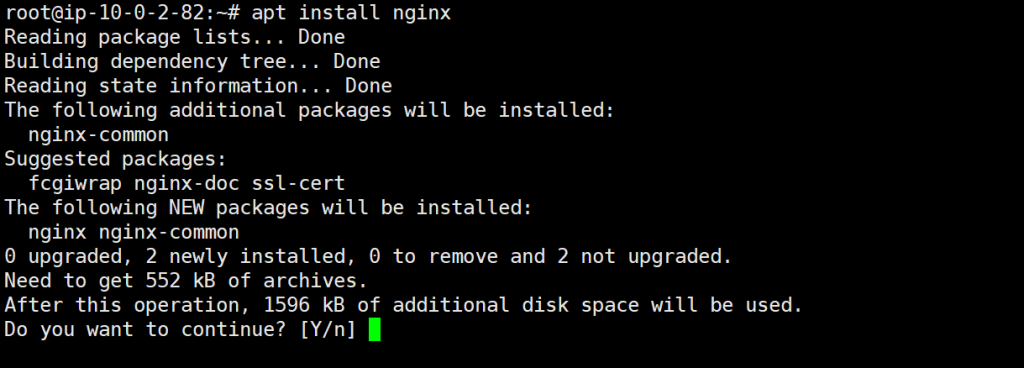
To start the nginx service and to enable the nginx service to start when the system reboots, issue the following command
systemctl enable nginx
systemctl start nginx
To check whether nginx webservice service is successfully running on the server, issue the following command.
systemctl status nginx
Step 4. PHP Installation
Now, to install wordpress on Ubuntu 24.04., we want to have a running PHP setup in the server since WordPress is mainly dependent and written on PHP. we need to Install PHP on the Ubuntu server and also some additional php extensions to help wordpress function seamlessly. To install PHP on Ubuntu 24.04 issue the following commands.
apt install php php-cli php-common php-imap php-fpm php-snmp php-xml php-zip php-mbstring php-curl php-mysqli php-gd php-intl
To check the Installed PHP Version, issue the following command
php -v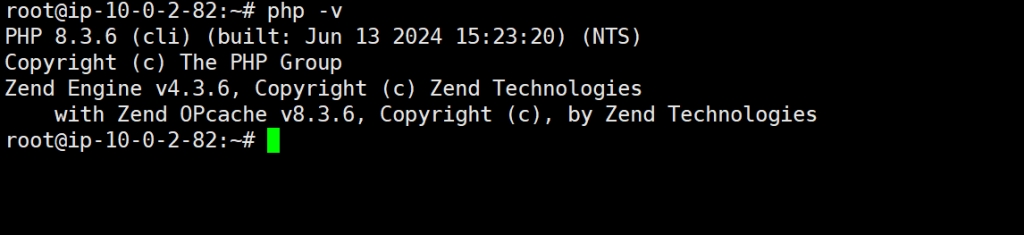
Step 5. MariaDB Database Installation
To Install mariadb database server for WordPress, issue the following commands.
apt install mariadb-server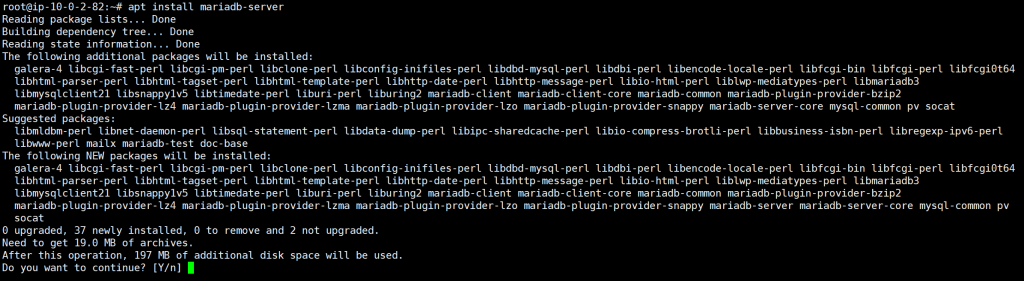
To start the mariadb server service and to enable Mariadb Server service to run on system reboot, Issue the following commands.
systemctl enable mariadb
systemctl start mariadb
systemctl status mariadb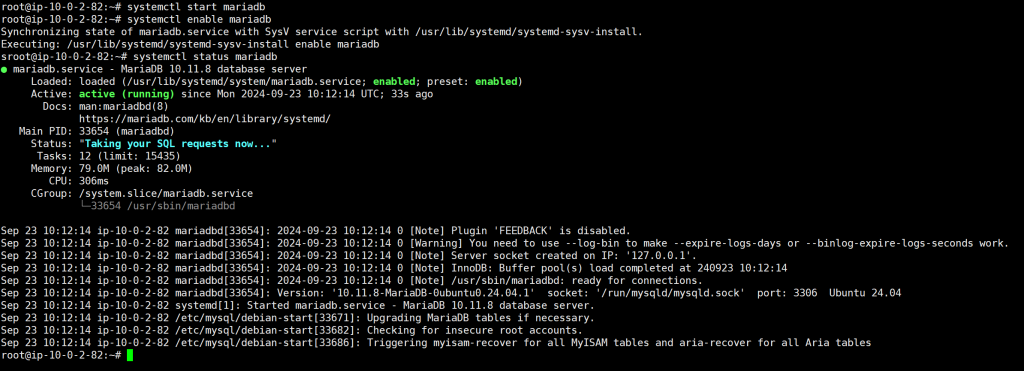
Step 6. MariaDB Database Configuration
Now, let us create a mariadb user and database for our WordPress application, to do that issue the following commands in the terminal.
mysql -u rootcreate user 'wpadmin'@'localhost' identified by 'yourstrongpassword';
create database wordpress;
grant all privileges on wordpress.* to 'wpadmin'@'localhost';
flush privileges;
exit;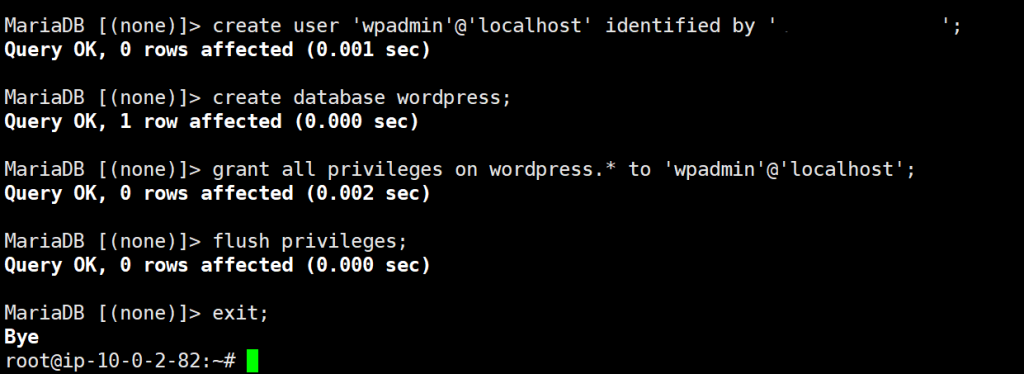
Step 7. Download and Install WordPress On Ubuntu 24.04
now that we have the Database and the Nginx Webserver setup completed. it is time to download and install the latest version of wordpress on our linux server. To do that, issue the following commands.
cd /tmp
wget https://wordpress.org/latest.zip
unzip the latest.zip in nginx root directory. Nginx root directory is where we keep the wordpress files so that someone access our sites. nginx will serve the files from this directory.
unzip latest.zip -d /var/www/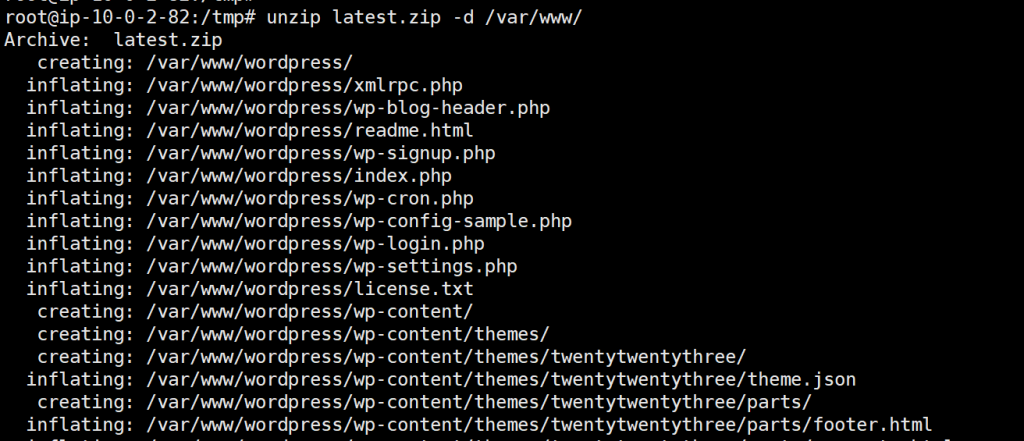
Let us set the right permissions to the files and folders we just unzipped so that nginx can access the files seamlessly.
chown -R www-data:www-data /var/www/wordpress/
Now it is time to setup the wordpress database configuration information the wordpress configuration file. To do that, issue the following commands.
mv /var/www/wordpress/wp-config-sample.php /var/www/wordpress/wp-config.php

vim /var/www/wordpress/wp-config.php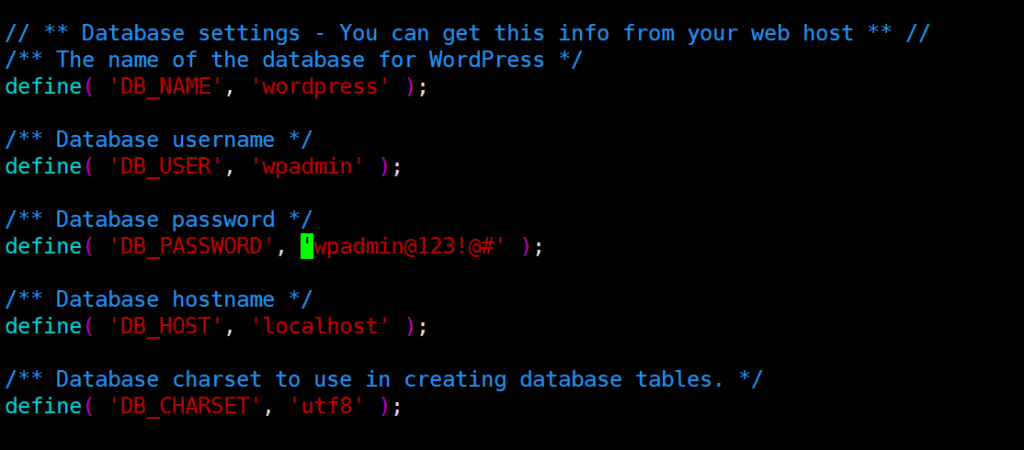
save and close the file once you update the configuration changes.
Step 8. WordPress Nginx Configuration
Next we will create an nginx server block file so that nginx knows from which directory it needs to serve the wordpress files from. issue the following commands.
vim /etc/nginx/conf.d/wordpress.conf
add the following contents to the file and save the file.
server {
listen 80;
   server_name server_IP_or_FQDN;

   root /var/www/wordpress;
   index index.php;

   server_tokens off;

   access_log /var/log/nginx/wordpress_access.log;
   error_log /var/log/nginx/wordpress_error.log;

   client_max_body_size 64M;

location / {
   try_files $uri $uri/ /index.php?$args;
}

   location ~ \.php$ {
      fastcgi_pass  unix:/run/php/php8.3-fpm.sock;
      fastcgi_index index.php;
      include fastcgi_params;
      fastcgi_param SCRIPT_FILENAME $document_root$fastcgi_script_name;
      include /etc/nginx/fastcgi.conf;
    }
}
Replace “server_IP_or_FQDN;” with your Server public ip or domain name.
To check the nginx syntax, use
nginx -t
finally restart nginx service, to do that issue the following command.
systemctl restart nginx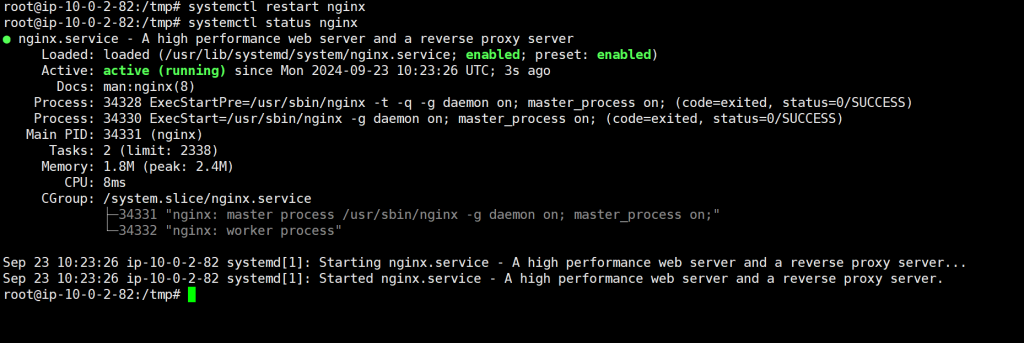
Step 9. Final Installation Steps through browser
Now you can open your favorite browser and access the wordpress URL, it can be http://10.110.10.10 or http://www.example.com

Select the Language and hit the “Continue” Button

fill in all the site details and click “Continue”
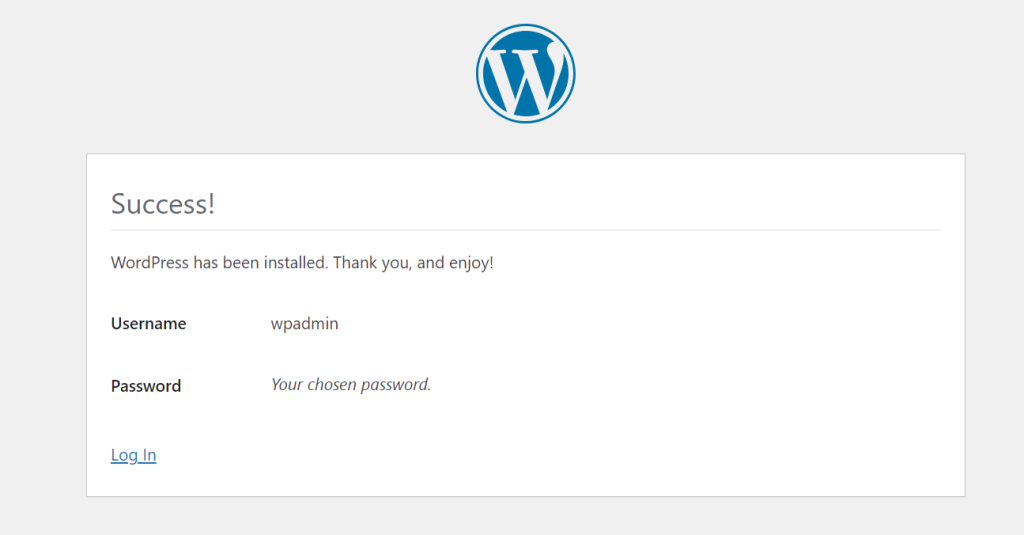
Now you can access your website to see the default content. You can also access the admin section through http://example.com/wp-admin or http://publicip/wp-admin
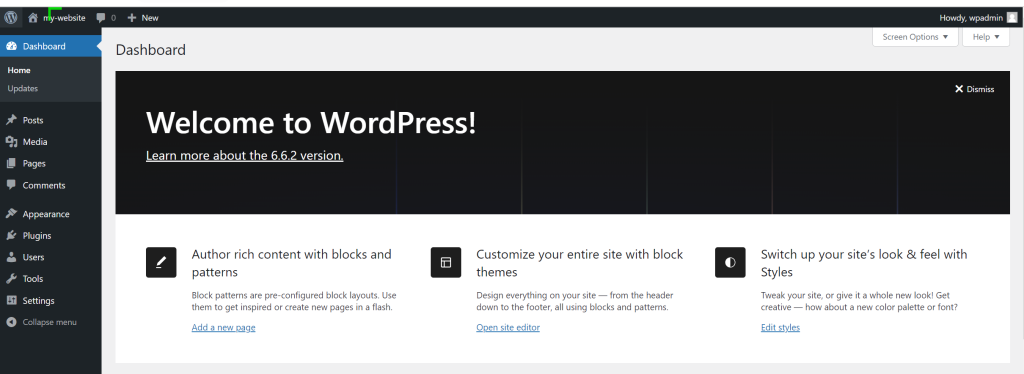
In this Tutorial, You have successfully learned how to Install WordPress on Ubuntu24.04 with Nginx and MariaDB Server.
Do Subscribe and Follow the page for more open Source Contents and How-to’s and do spread the word and help us create more contents.
Feel free to share the content on your Social Networks and encourage us to bring in more Open Source tutorials to add real value to our users.
You are a gem bro